Thursday, December 6, 2012

DIY Christmas Ornaments

DIY Christmas Ornaments 


I decided to try out making my own ornaments.  I picked up some cheap acrylic paint and some glass ornaments from Michael's.  And then I just squeezed out the paint into the bulb and counted to 8 (somewhere around 7-9 seconds was enough paint).


This is when I was squeezing way too much paint into and wasting it!  Like I said, about 8 seconds is enough paint and maybe even 7 would be plenty.  I think I was squeezing about 12 seconds into each bottle! What a waste!


Then I swirled and shook and swirled and shook until the inside was all covered.  I left them to dry overnight and during the next day.  I think 24 hours is sufficient to dry, but be sure to test it out and see.  I found a much more efficient way to dry the ornaments afterwards, of course.  Just stick a toothpick or a little stick in a block of foam and hang the ornaments on the toothpicks to drip dry!

I started draining the bulbs back into the paint bottles.  The paint is water soluable so in order to clean off any paint that had dried on the exterior, I just had to wipe it down with a wet paper towel or use my nail to scratch it off.


I picked coordinating ribbon for the ornaments and now they're ready for the tree!  If only I had a tree...

Monday, December 3, 2012

Winnie the Pooh

My sister drew this.  I think it's adorable.


Saturday, November 17, 2012

Birthday Box!

It's the Chick Daddy's birthday today!  Happy birthday, Babe!


Instead of a typical card, I made the Chick Daddy a birthday box with sentiments inside (the little box).  What's actually inside is a hollowed-out egg with a note inside that reads:
\


You crack me up! Have an EGGceptional birthday!


The Chick Daddy will have to crack open the egg to get the message.

The box I'm excited about.  I cut it out using a 3D Box by Lori Whitlock pattern from the Cameo site that I downloaded for $.99.  I cut the box out on a 12x12 brown cardstock piece.  Then I made the box a lining with the same Happy Birthday paper from Paper Source that I used to wrap the Chick Daddy's gifts.


I glued the wrapping paper liner to the cardstock and then assembled the box.

Here is the finished box!


The Chick Daddy's Birthday Balloon Avalanche!

Today is the Chick Daddy's birthday so I wanted to give him a great one! To start, I set up the doorway balloon avalanche that you see all over Pinterest.  He loved it!

I left part of the door without streamers or balloons so that I could see his face when he came out of the door.  He doesn't want his photo posted but he was very surprised and it made him laugh, which is all I wanted.

Monday, November 5, 2012

My New Silhouette Cameo!

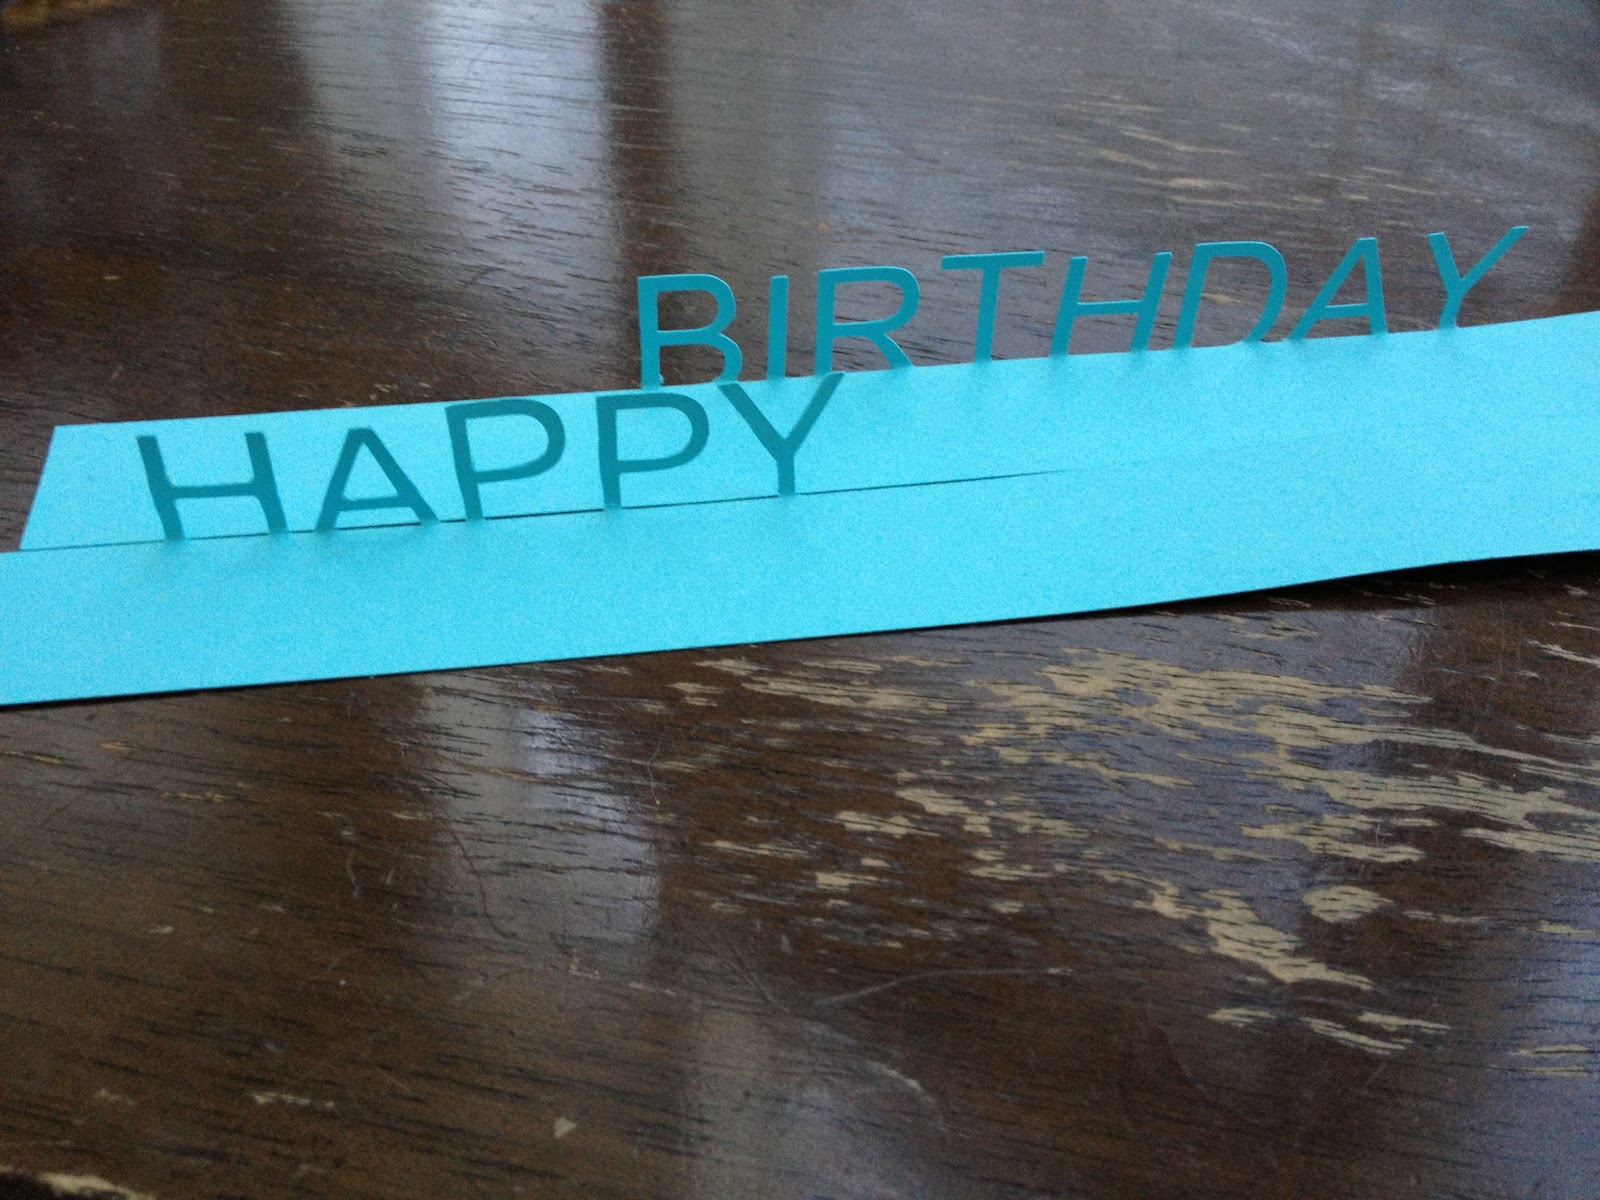
It's my birthday today and as a very special gift from my parents and sweet boyfriend, they gave me the Cameo Silhouette!

Now I get to play!

Here's what I made myself today:


Tuesday, October 16, 2012

Gorgeous Eggs!

When the Chick Daddy and I picked out the breeds of chickens that we wanted, egg color was high on the list of deciding factors.  We picked out 2 Americaunas specifically for their blue-green eggs, a Golden Comet and an Australorp for their brown eggs, and a White Leghorn for the standard, large white egg.  Well, the surprise was that our White Leghorn turned out to be a Delaware and lays brown eggs!  Ok by us!  But what wasn't ok, was that we didn't seem to be getting any of the blue eggs that I so wanted.

Until today!  Another one of the girls started laying blue eggs, and they are beautiful and large.  In fact, our brown egg layers seem to have more colorful eggs as well.  Take a look:

eggs, blue egg, green egg, orange egg, red egg
Our pretty eggs in a rainbow of colors!

Orange, red, green, and blue! I love them and I'm so proud of our girls!

Tuesday, October 9, 2012

Thank You Card

I made this card for the Chick Daddy's parents to thank them for my stay at their house.

thank you card

I stamped the "thank you" stamp and then heat embossed it with gold, glittery embossing powder.  And the wreath is made of a 1 3/8" x 12" paper, scored and accordion folded every 1/4 inch.  I glued the ends of the wreath together and carefully maneuvered it into the wreath shape.  I used Zots to stick it to the card and folded a tiny, red raffia ribbon.  Thinking of adding some stamped flourishes at the corners, but still undecided about that.  Hope they like it!